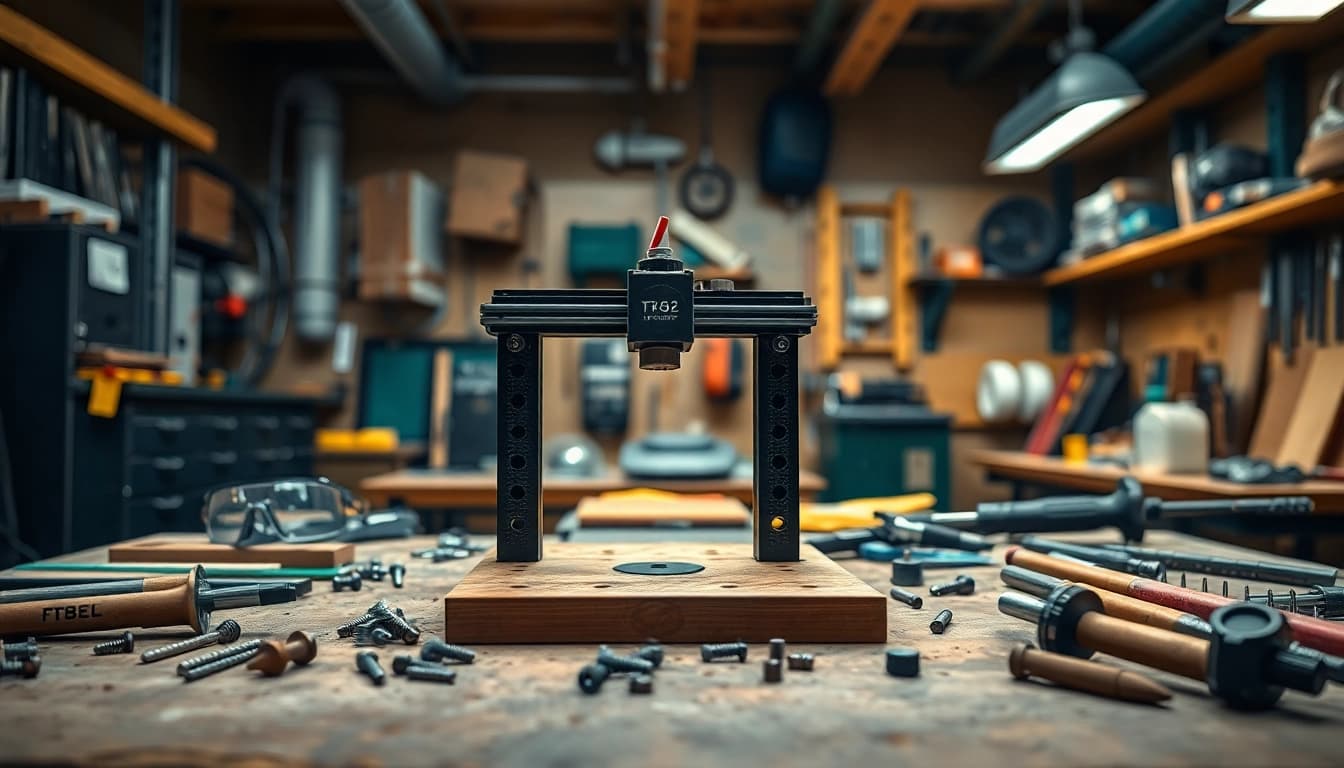
Understanding the pf940v2 Jig Basics
What is a pf940v2 jig?
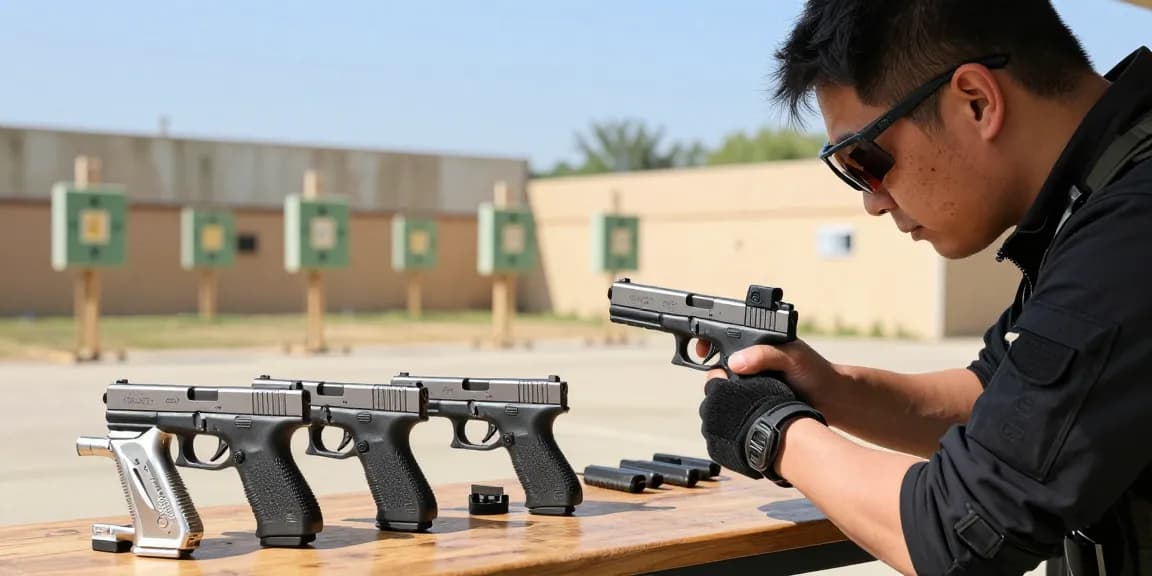
The pf940v2 jig is an essential tool designed for firearm enthusiasts looking to build their own custom polymer frames. This jig serves as a guide to help users drill and cut their frames accurately, ensuring a high level of precision during the assembly process. The jig simplifies what can often be a complex task, making it accessible for both beginners and seasoned gunsmiths.
Key Features of the pf940v2 jig
The pf940v2 jig is packed with features aimed at enhancing the user's experience. It’s built from durable materials, such as high-quality polymer, which withstands wear from regular use. This jig also includes alignment features and guide pins that ensure accurate drilling locations for fire control components. The ergonomic design allows for easy handling and positioning, making the assembly process smoother and more efficient.
Advantages of Using the pf940v2 jig
Using the pf940v2 jig offers numerous advantages for DIY enthusiasts. It not only saves time but also allows for cost-effective construction of custom firearm frames. The jig's design promotes precision, minimizing the risk of errors during the drilling and cutting process. Additionally, the pf940v2 jig allows for personal customization, enabling users to build frames that meet their specific preferences and needs.
Setting Up Your Workstation for Success
Essential Tools Needed with pf940v2 jig
Setting up a proper workstation is crucial for maximizing the efficiency of using the pf940v2 jig. Essential tools include a drill (preferably a bench drill for better stability), drill bits designed specifically for polymer, a Dremel tool for customization, a measuring tape, and safety gear such as goggles and gloves. Having all tools on hand before starting the process will save time and make the assembly smoother.
Safety Precautions When Using the pf940v2 jig
Safety should be a top priority when working with tools. Always wear safety goggles to protect your eyes from debris. Use gloves to protect your hands from sharp edges and splinters. Ensure your workstation is clean and well-lit, preventing any hazards that could occur from clutter. Additionally, read the jig's manual thoroughly to understand its correct use, especially if you're new to assembling firearm frames.
Creating an Efficient Workflow
To streamline the assembly process, it's vital to create an efficient workflow. Start by organizing your workspace so that all tools are within easy reach. Lay out the parts of the frame and the jig in a logical order in which you will assemble them. Breaking the process down into manageable steps—such as preparing, drilling, and finishing—can significantly enhance productivity and reduce stress.
Step-by-Step Guide to Assembling the pf940v2 Jig
Preparation Before Assembly
Proper preparation is key to a successful project. Before using the pf940v2 jig, read through the provided instructions carefully. Next, gather all necessary tools and materials. Inspect the parts for defects or irregularities to ensure a smooth assembly process. It can also help to have a checklist to track progress as you move through the assembly stages.
Assembling with the pf940v2 jig
Begin the assembly by securing the frame into the jig. Ensure that the frame is properly aligned using the marked guide points on both the jig and the frame itself. Next, use a drill to create holes for the fire control group and other necessary components, following the provided templates. Take your time during this stage, as precision is vital for the functionality of the finished product.
Common Mistakes to Avoid
Many users face challenges when utilizing the pf940v2 jig, especially those who are new to frame assembly. Some common mistakes include misaligning the frame within the jig, using incorrect drill bits, and rushing through the drilling process. To avoid these pitfalls, double-check alignments and measurements, and take breaks to prevent fatigue that can lead to errors.
Advanced Techniques for Enhancements
Customizing your pf940v2 jig
For those looking to personalize their builds further, the pf940v2 jig offers ample opportunities for customization. Users can modify the jig itself to accommodate different frame styles or even add features that make the assembly process easier. Accessories such as enhanced supports or upgraded bits can also improve performance and simplify the build.
Enhancing Precision with the pf940v2 jig
To achieve a higher level of accuracy during assembly, consider investing in high-quality precision tools. Using a laser level can help ensure that all components are perfectly aligned before drilling. Measuring tools like calipers also contribute to precision, allowing for exact measurements when determining where to drill holes and make cuts. Practicing on scrap material can also enhance overall skill and confidence.
Maintenance Tips for Longevity
Proper maintenance can significantly extend the lifespan of your pf940v2 jig. After each use, clean the jig and the surrounding work area. Inspect the jig for any signs of wear or damage and repair any issues promptly. Regularly check the crucial components such as guide pins and drill holes for any build-up or debris. Proper storage in a dry, dust-free environment will also preserve the integrity of the jig.
Frequently Asked Questions
What materials can I use with the pf940v2 jig?
The pf940v2 jig is suitable for polymer and aluminum frames, designed to accommodate various configurations.
Can beginners use the pf940v2 jig?
Absolutely! The pf940v2 jig is designed with user-friendliness in mind, making it accessible for all skill levels.
How much time does assembly with the pf940v2 jig take?
Typical assembly takes 2-4 hours, depending on prior experience and familiarity with tools.
Is the pf940v2 jig durable?
Yes, crafted with robust materials, the pf940v2 jig is built for consistent, heavy-duty use without wear.
Where can I purchase the pf940v2 jig?
The pf940v2 jig can be bought online through various specialized retailers and is often available at local firearm accessory shops.